

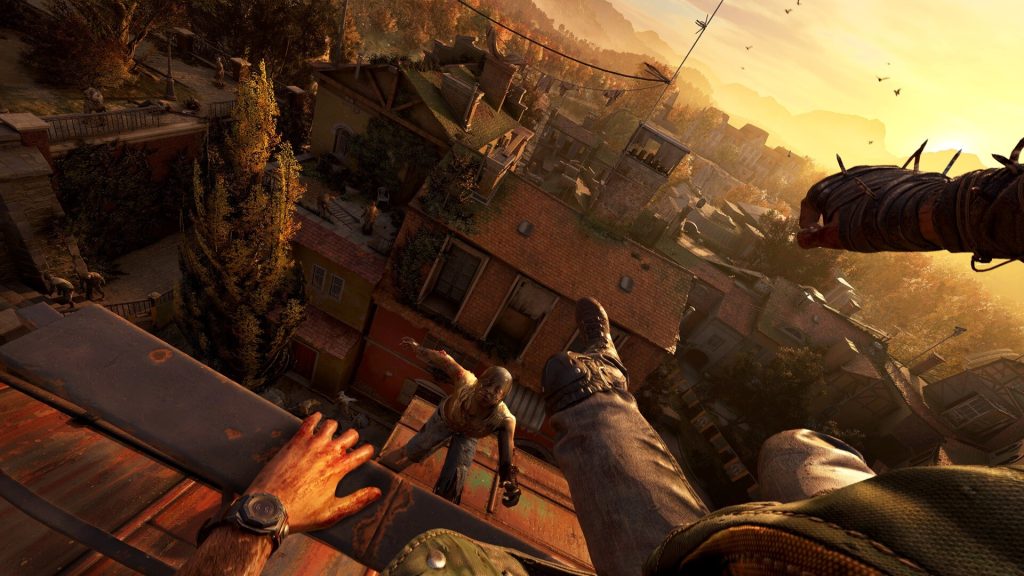
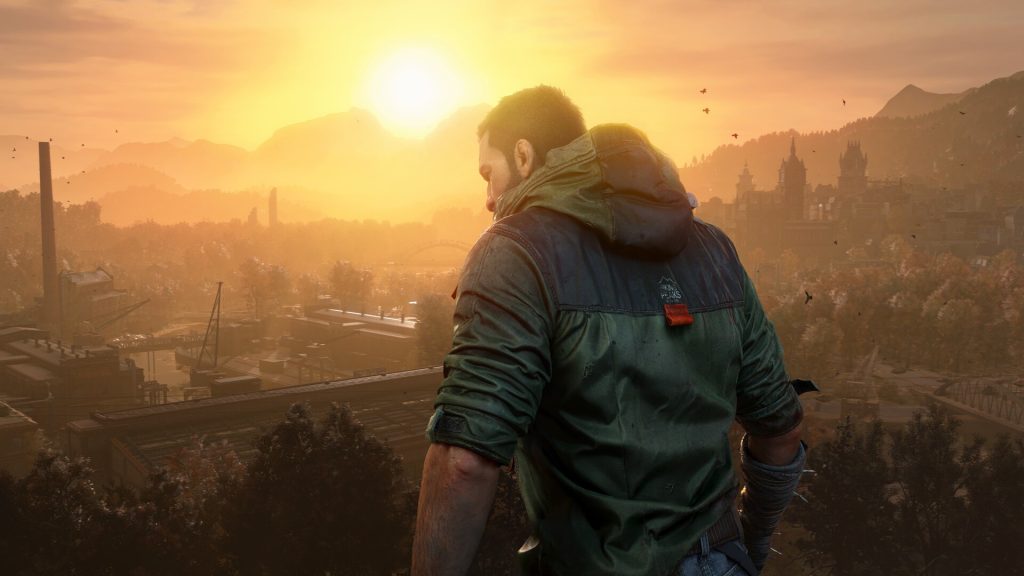
With Dying Light: The Beast now out in the open, Kyle Crane’s adventure continues, and things are quite interesting this time around. His noble goals from his past appearances have made way for a more personal and darker vendetta against The Baron, and, of course, he gets a few new tricks up his sleeve to help him along.
Techland’s streamlined approach to its tried and tested formula is sure to bring a smile to those of you already familiar with its work, while The Beast can get a tad overwhelming if this is your first time in a Dying Light title. However, have no fear; we’ve spent quite a bit of time in the Castor Woods and have compiled a few tips and tricks to make things easier for you.
Let’s get started!
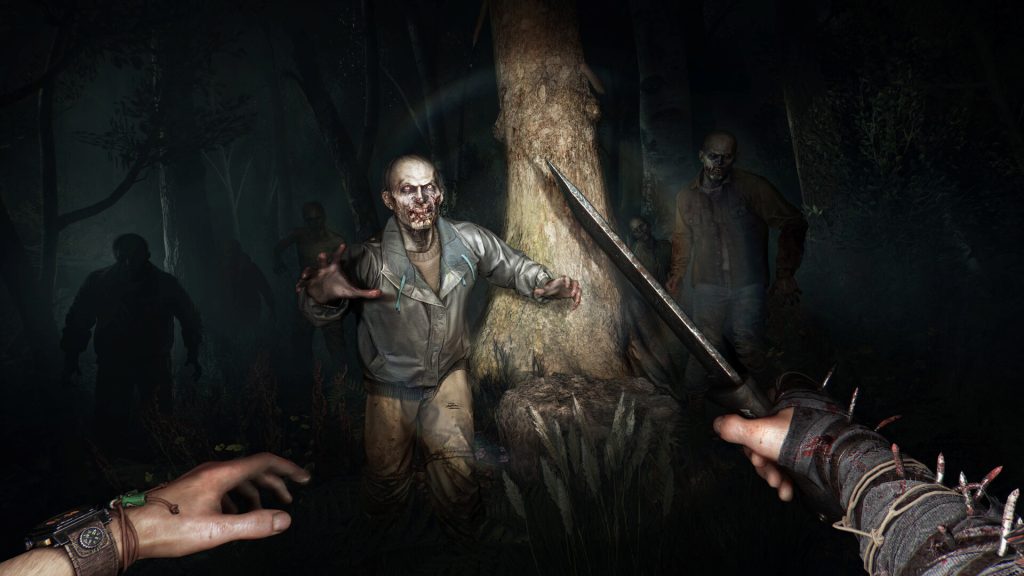
1. Be Smart When Taking on the Infected
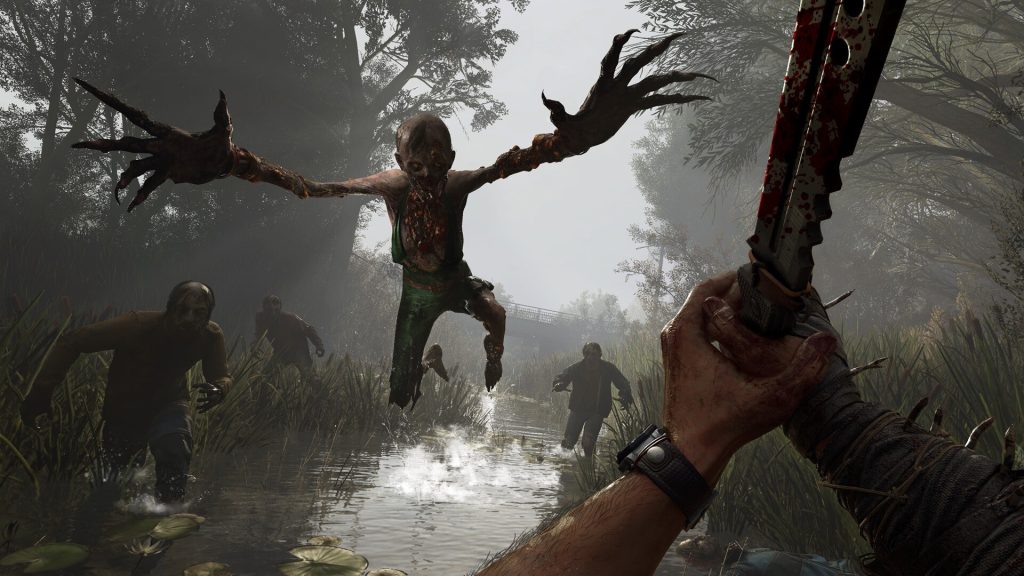
While finding a large pack of the Infected can seem a convenient way to pick up some much-needed resources, considering how precious those are early on in the game, taking them all on at once is a sure-fire way to impede your progress. Unless you’re playing on easy mode, you lose XP every time you’re taken down, and that can quickly become a very frustrating grind.
However, luring one of two Infected away from the pack and thinning down their numbers to make the rest more manageable is a great way to go about things. We’d recommend trying to catch the attention of Goons and Runners first, as they’re harder to kill and are quite bothersome when they come with backup.
2. Unlock Beast Mode Control ASAP
Early on in your Beast skill tree is an option to activate Beast Mode whenever you think it’s necessary. That’s a skill that can change the way you approach a variety of situations in the game, as you’re otherwise restricted to just filling up the Beast meter and letting it dictate when you can access a very powerful set of moves for Kyle.
To that end, we’d recommend prioritizing missions that have you fighting Chimeras in the early game before you take on other side content or activities. Having control over when you enter Beast Mode is a tactical goldmine in this title, and can make a lot of your time in the early game significantly less frustrating.
3. When In Doubt, Drop Kick!
Just like the Beast Control skill, Kyle’s combat skill tree comes with the Drop Kick ability quite early on. It’s a lifesaver, honestly, as a well-placed kick could send Infected flying into each other, downing them long enough for you to do some serious damage. Learning how to use it well is not too challenging, and you’ll soon find yourself downing smaller ones with ease and taking them out of the fight a lot faster.
4. Use the UV Flashlight
And by that we mean use the hell out of it! We all know that it’s the only known weakness that the Infected display, so it only makes sense to abuse this underrated tool to the fullest extent possible.
Like the Drop Lick, it’s a great way to gain some breathing room, and you can easily get in a few hits after the Infected are stunned and retreating from its radiance. It’s saved our lives on many occasions, and is sure to do the same for you.
5. Use the Environment
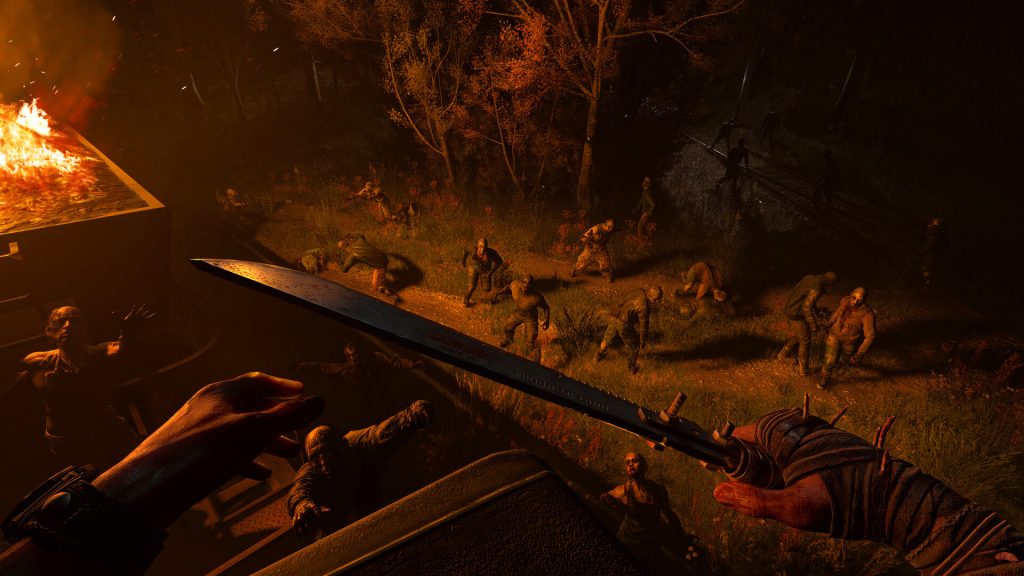
Kyle’s weapons, skills, and tools are not the only things that can help him get an edge over the threats he faces. For instance, many environments have gas cylinders lying around that you can either shoot or pick up to manually ignite before throwing them at a group of Infected for some massive damage.
We’d recommend the latter approach, though, as ammo can be a tad harder to recover once it’s spent, especially in the early hours of the game.
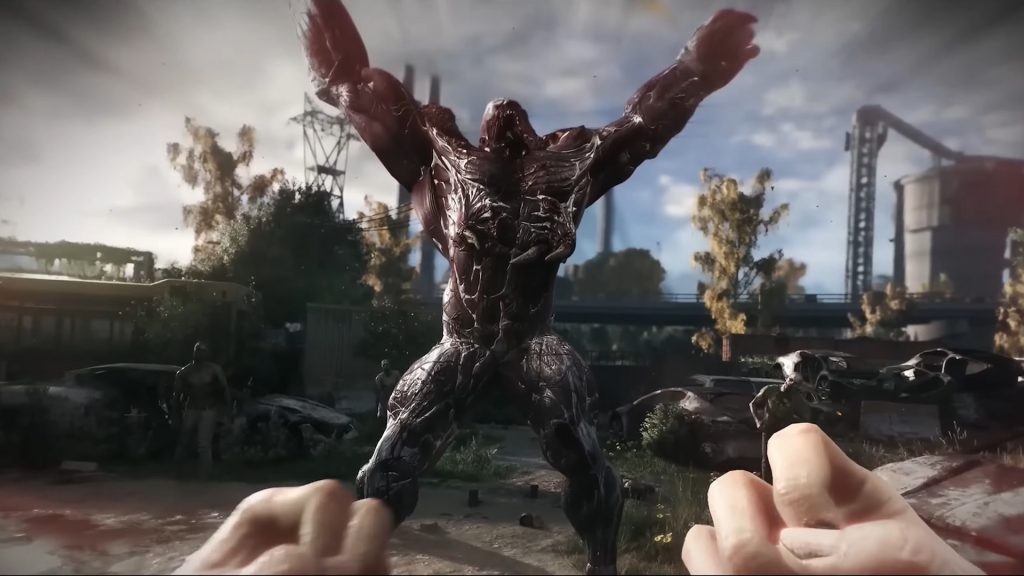
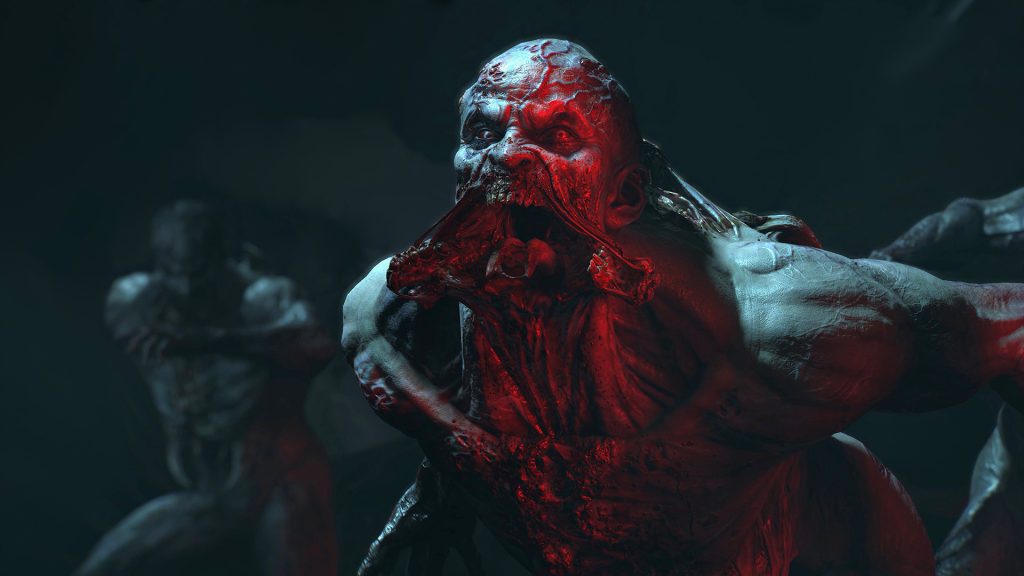
6. The Beauty In The Beasts
The Chimeras are among the hardest fights in the game, but with good reason. Taking them on and defeating them is not only a part of the game’s main narrative, but rewards Kyle with some much-needed GSB, which allows him to boost his own skills.
The Beast Skills are incredible, allowing you to devastate the Infected and maybe even a Volatile once you get some momentum going. They can turn any situation in your favor, especially once you get to activate Beast Mode at will. You can get very creative with how you approach fights once you have a few unlocked, so make the Chimeras a priority.
7. Enable Auto Sprint

An option we recommend enabling early on is Auto Sprint, which we found was a game-changer as far as traversing the beautifully crafted world from Techland is concerned. You no longer have to click your left stick every time you need the extra speed, and since you don’t lose any stamina for running, this can save you a lot of time as you go from place to place.
It can also make escaping those pesky Volatiles at night a whole lot easier. Believe us when we tell you you’re going to want all the speed you can get once one of those gets even a sniff of you!
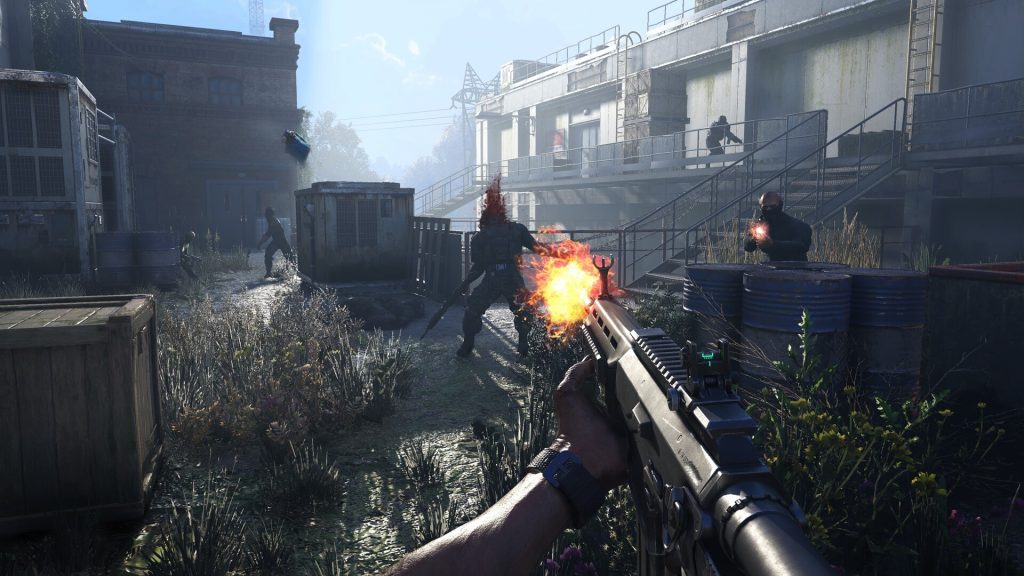
8. Use Firearms Sparingly
Your guns are a valuable addition to your arsenal, but their limited ammo means that going in all guns blazing (pun intended) invites the possibility that you’re going to find that you’re out of bullets when you need them the most.
For instance, we found ourselves surrounded by the Infected while we stood atop a truck. There was a gas cylinder on the ground, but trying to pick it up would have meant certain death. It was too bad, then, that we’d pumped bullets from our SMG about half an hour ago.
Using your guns wisely is a great way to keep yourself in the fight for a lot longer than our own foolhardy approach.
9. Keep Crafting!
If you aren’t constantly diving into your inventory to see what you can craft after taking on a few Infected, you’re setting yourself up for failure down the line. Every item of value, like bandages that restore health, for instance, can easily be crafted on the go, and doing so means you’re good and ready for whatever you encounter during your travels.
Ensure that you stop by crafting tables at your safe points and check out any new blueprints for weapons and gear, and perhaps even pin one of two of them before you head out, so you know what to look for.
10. Use Your Survival Sense
An early game mission tasks you with tracking a certain beast via traces of its handiwork out in the world. Unfortunately for us, we spent a fair bit of time scouring every inch of the investigative zone before realising that clicking our right stick lets Kyle send out a pulse that made things a whole lot easier.
It’s a tried and tested mechanic in modern gaming, and is there to make life easier for you. This is quite valuable in an experience like The Beast, where every advantage you gain is earned through blood, sweat, and even tears.
11. Try Switching the Kick and Jump Buttons
While the default control scheme is perfectly all right, we did find that switching your kick and jump buttons made both traversal and combat far more intuitive. Your mileage may vary based on your personal preferences, but do give it a try. You could always switch back if you prefer the original layout.
12. Alternate Between Exploration and Missions
The Beast can get quite punishing if you make a beeline for story missions early on in the game, and even later in. Remember to grind for resources by fighting the Infected and exploring dark zones to help you craft all the supplies you need before heading towards your mission markers.
Likewise, it pays to raid a few convoys for ammo for your guns, and activate a few safe zones out in the world to make your travels easier. The Castor Woods are designed to balance exploration and the story, and the onus is on you to achieve that balance based on how you like to play. It’s quite a map with a lot to do, and exploring it is well worth the effort in most cases.
13. Choose Your Difficulty Wisely
We don’t give this advice lightly. Playing the game on its hardest difficulty was a brutal romp through the Castor Woods that saw us sent back to the last checkpoint more often than we’d like to admit. Turning it down to normal did make things easier, but we’d recommend starting on story and ramping it up once you begin to get comfortable with the game and figure out your own playstyle.
14. Loot Every Kill!
Every time you take down an enemy, make sure that you loot it! Supplies are the difference between life and death in this game, and you’re going to need them to craft better gear, weapons, and tools. Stocking up on valuable items means you don’t have to spend hours farming for them later on, so just take those few seconds to check every carcass you come across.
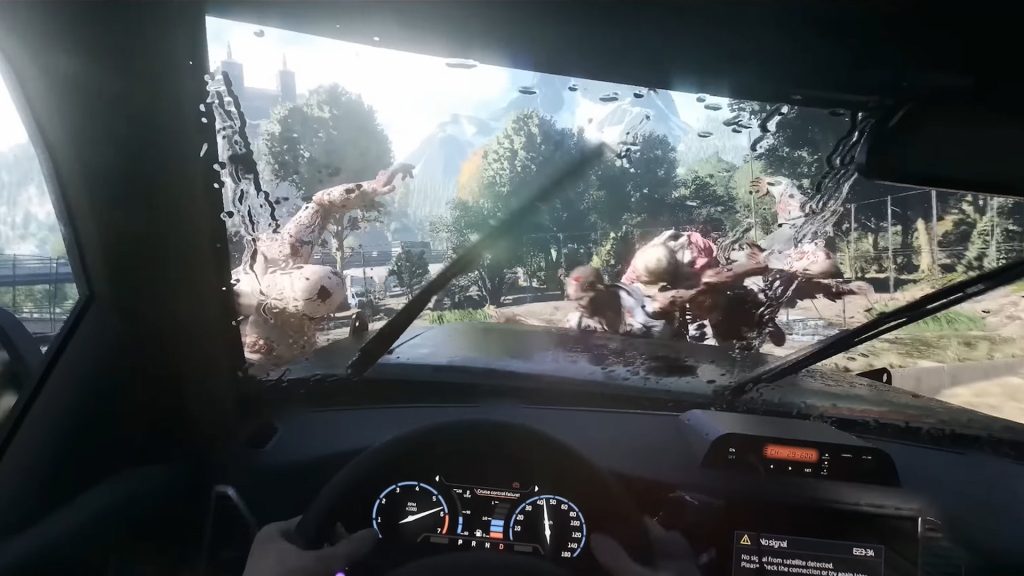
15. Use Vehicles As A Quick Killing Tool
Any time you see a horde of Infected and a vehicle you can use, get into it and run over as many as you can! It’s a great way to gain resources and supplies, and it’s really fun to just let loose and bring back fond memories of Carmageddon, just with zombies.
You’ll find yourself flush with the supplies you need for crafting with just a few solid manoeuvres with your truck. If you can find some more fuel along the way, your rewards could increase quite significantly, so keep an eye out when you’re driving around.
And that wraps things up. These tips should get you to quite a solid start in the early game and beyond. Of course, we’ve saved the best one for last: don’t forget to have fun! If you have any ideas that you think could help your fellow players, we’d love to hear them. Just hit us up in the comments and let’s take down The Baron together.


Great to see tips and tricks for Dying Light: The Beast! It’s always helpful to have strategies on hand for navigating Kyle Crane’s adventures. Looking forward to diving into the game with these insights!
Absolutely! Having a solid strategy can really enhance the gameplay experience. I also noticed that exploring the environment can reveal hidden resources, which can be crucial for survival and crafting better gear.
I also noticed that mastering the parkour mechanics can be a game changer when navigating the environment. It allows for quicker escapes and better positioning during encounters!
Absolutely, mastering parkour is crucial for survival in Dying Light: The Beast. It not only helps you escape from enemies but also allows you to find unique vantage points for planning your next move. Have you found any favorite spots for parkour in the game?