After years of waiting, Ninja Gaiden 4 is finally here and, to no one’s surprise, it’s a challenging affair. Newcomer Yakumo is armed with all kinds of tricks that can absolutely decimate (and obliterate) enemies, but what are some of the best options? Which combat skills should you unlock first? How valuable are requests beyond just awarding Ninja Coin? Why should you care about Tallies?
We’ll explore all this and provide some tips on surviving, excelling in combat and embarking on the road to mastery.
Spin (and Sweep) to Win
You’ll earn more than enough weapon EXP to unlock a plethora of techniques, but two that come highly recommended and great to fall back on are Rising Stance: Spin and Vaulting Stance: Sweep for Takeminakata. The former sees Yakumo rising, perched on the blade, before delivering a spinning slash in a decent radius – this is great for knocking back multiple enemies at once if you’re overwhelmed (and avoiding damage while doing so). Vaulting Stance: Sweep is good for a damaging follow-up. Just mind the slight delay before the attack when vaulting forward, since enemies could get a few hits in.
Berserker Barrage
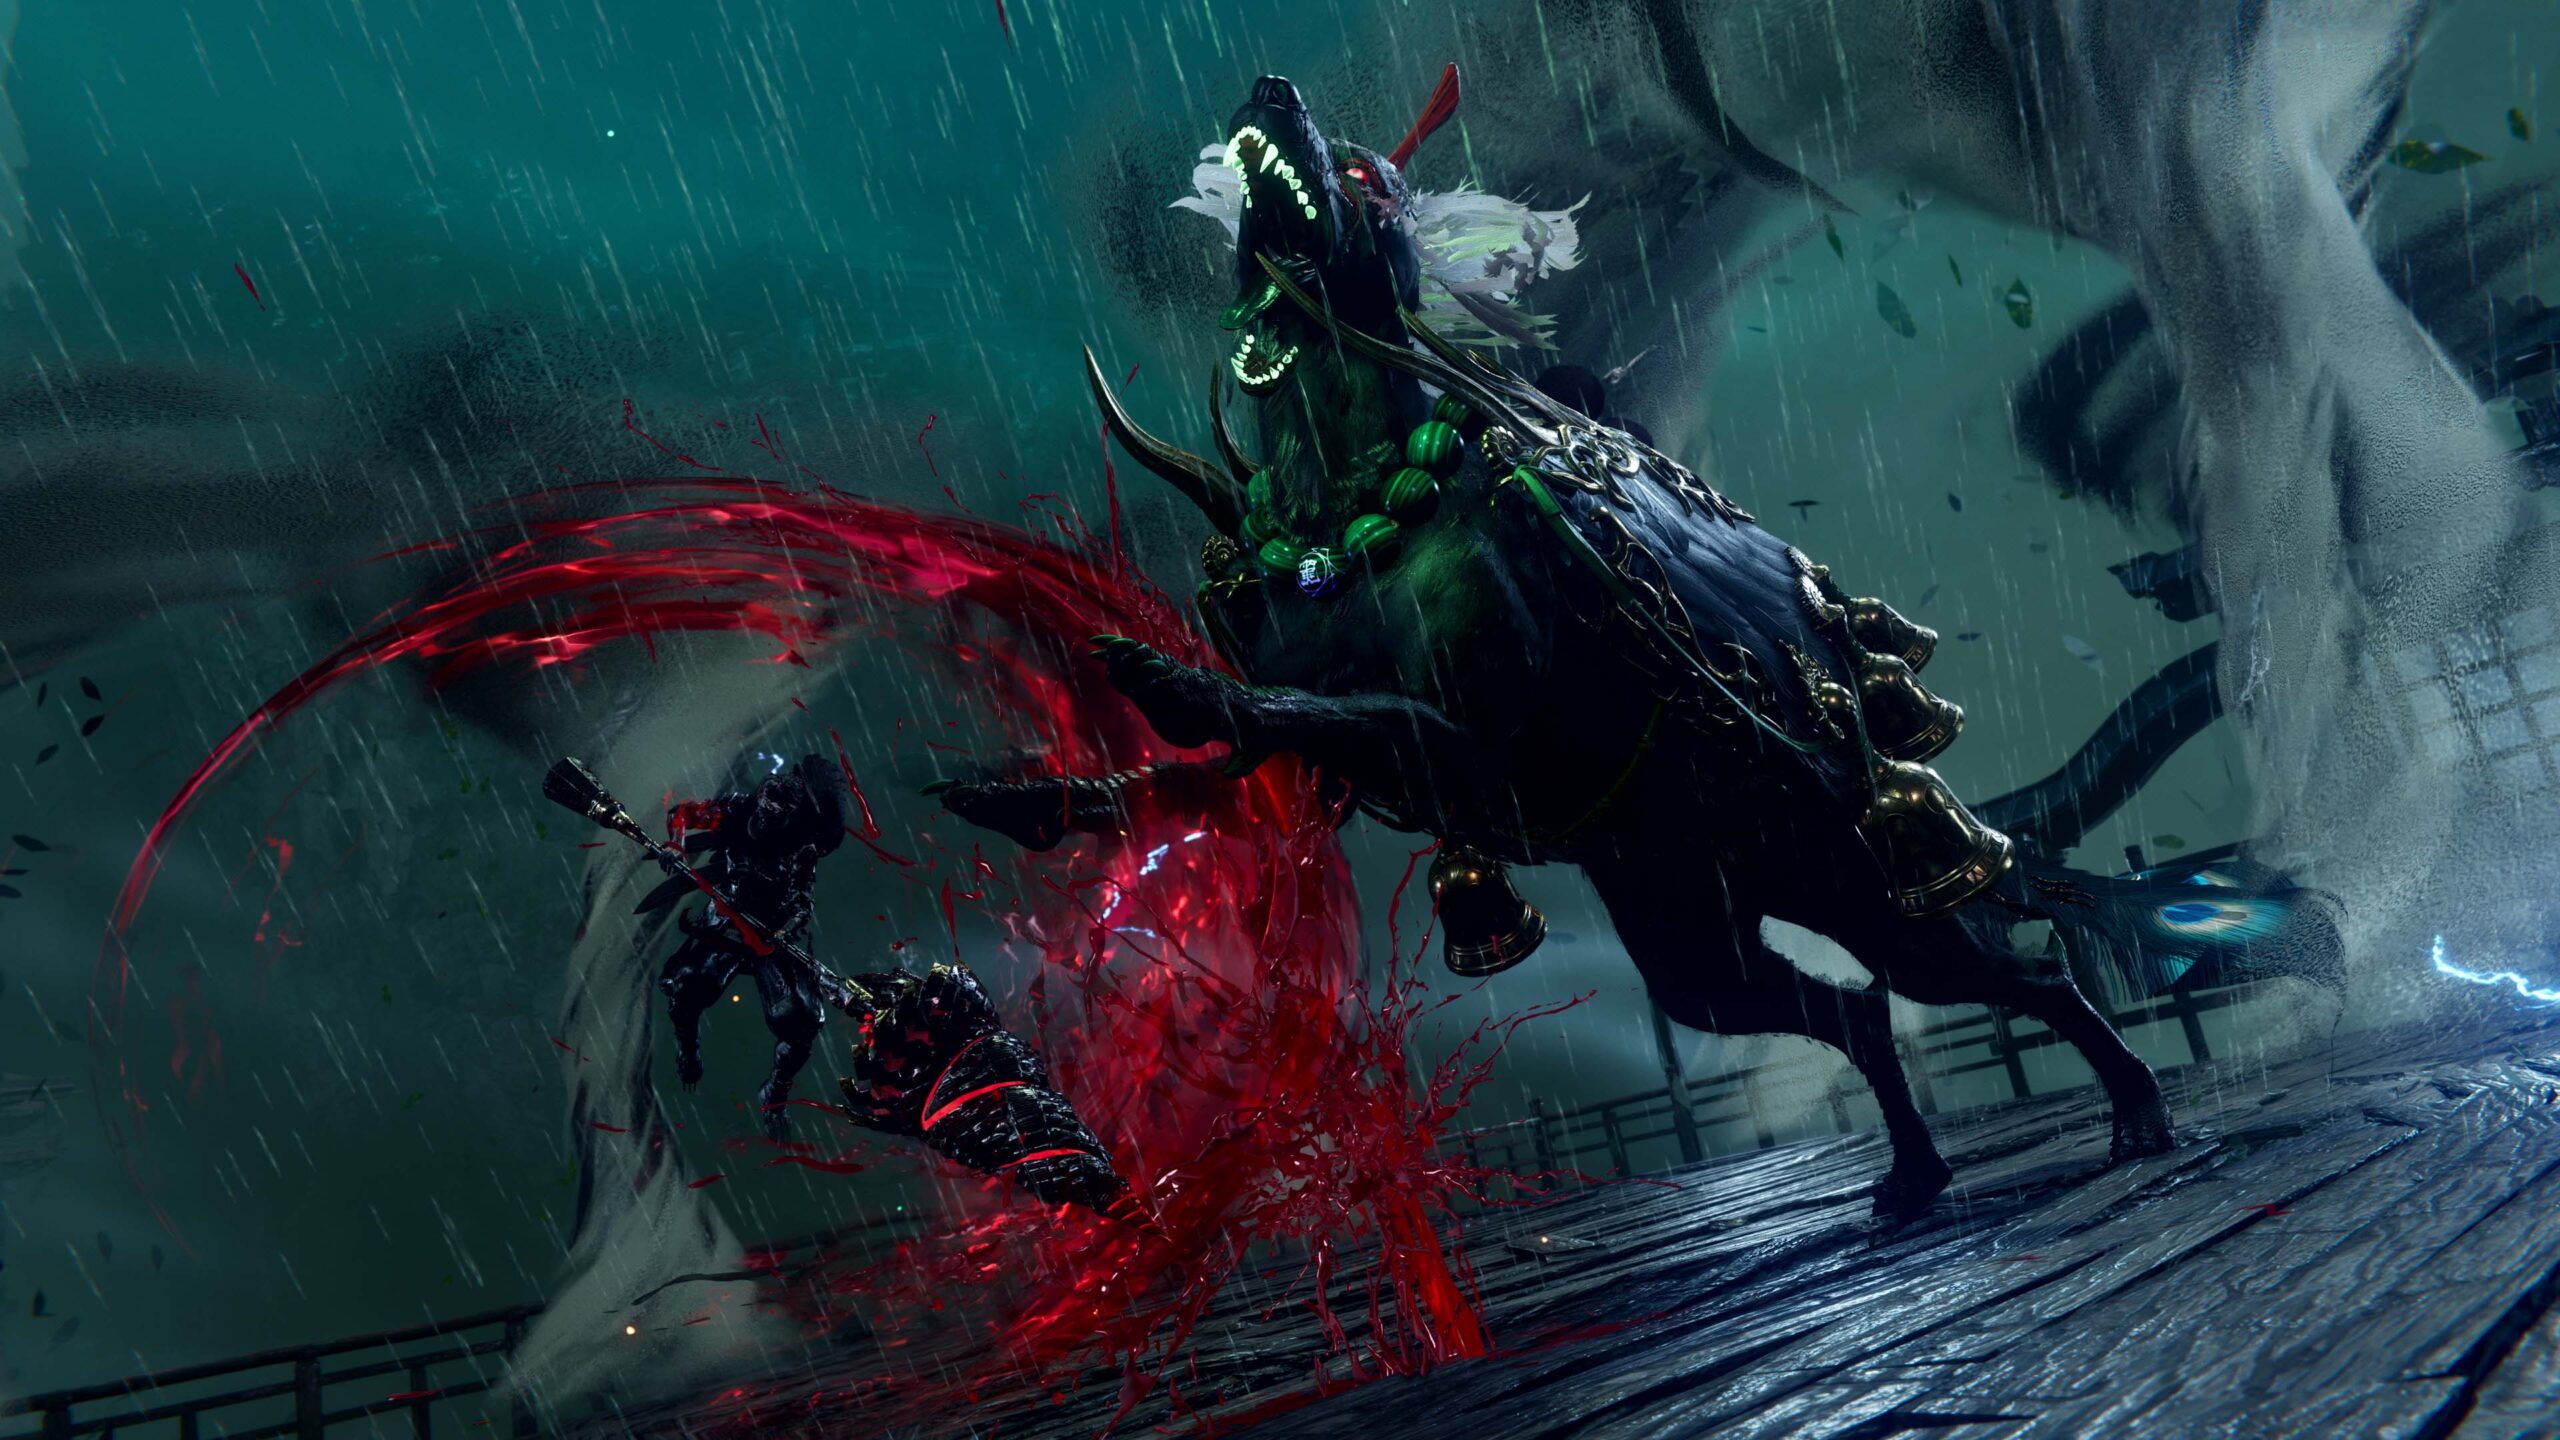
As you deal (and take) damage, the Berserk gauge begins to fill. Once activated, it allows for holding down light or heavy attacks in Bloodraven Form to initiate Bloodbath Kills for instantly eliminating foes. Pairing this with Rising Stance: Spin is great for taking out multiple enemies at once, especially the heavies. Just make sure to hit L3+R3 again before the gauge runs out for Bloodbath Slaughter, a massively damaging finishing move which also insta-kills all enemies within range.
Frugal Spender
When starting the game, Ninja Coins are obviously on the lower side, so avoid spending them on items. Simply exploring the environment will net chests full of healing items and those that temporarily buff defense and attack. The abundance of checkpoints throughout areas also ensures that you’re never far from a full heal, so keep that in mind before taking a swig to your health.
Easy Weapon Switching Opportunities
Switching between multiple weapons mid-combo can get daunting, especially when trying to figure out the best ways to transition between different techniques. If it’s presenting a challenge during combos, try switching during obliteration techniques or Ultimate attacks. The invulnerability window provides a nice breather for planning your next move and swapping accordingly.
Ultimate Power
Get used to abusing Ultimate attacks. Their invulnerability is extremely valuable against groups of enemies (even when dealing with those poisonous puddles) and boss fights, not to mention the damage. How do you charge it up without getting dived on by enemies? Unlock Ultimate Guidance, a combat skill which speeds up the charging when absorbing a Blood Essence orb (increased by two levels if it’s a large orb). You’ll want Final Charge for that second level for even more hits and Landing Ultimate Technique, which increases charge speed if you start immediately upon landing.
Block Party
Not everyone is going to become a parry master overnight, so it’s often a good idea to fall back on blocking whenever possible. One way to ease into parry opportunities, however, is to memorize enemy and boss patterns, block against their attacks and then attack just before the last hit (thus initiating a parry). Even if you miss the parry and take damage, keep blocking to avoid follow-up damage. If you can land at least one parry through this method, then a Fatal Flash can be initiated, which drops a Blood Essence Orb on dealing damage to absorb for an Ultimate Attack.
Illusive Steps
Of course, there are benefits to perfect dodging as well, especially if you unlock the right combat skills. Mirage, both the regular and Bloodraven variant, are mandatory in this regard, especially the latter since it deals more damage and even launches an enemy into the air. Just keep in mind which weapon you’re using to do so.
Other Useful Techniques
The Izuna Drop and Flying Swallow are a given, but if an enemy is proving too difficult, why not just throw them into the abyss? Get Guillotine Throw to accomplish this in areas with sharp drops. Even in more enclosed spaces, it’s great for knocking enemies off balance by throwing them into each other. You can even throw one at flying enemies to clip their wings.
Besides Takeminakata, Eagle Dive and Propulsion Impact are ideal skills for Yatousen. Tremorous Pummel and Sunset Breaker (even if its follow-up spin is hard to land) work well with Magatsuhi. For Kage-Hiruko, Tamahami for dashing through enemies multiple times, Nocturnal Flash for dropping bombs and Nocturnal Rain for bombs that can launch enemies high up are ideal.
Danger Sense
Pay attention to the motion indicators on your HUD – they’ll alert you to enemies, even if they’re not on-screen. It’s useful for judging your distance to threats before a battle begins, but downright invaluable when you think an area is safe after eliminating all visible threats.
Ninja Mercenary
You’ll want to constantly take on requests whenever they become available, but pay special attention to those which grant Phantasmal Fragments, since those are used in items that provide permanent health upgrades. Others will award accessories which can offer unique benefits if you have the required slots. The rewards for each request are visible before taking them and in the Missions tab.
Tyran’s Tactics
Tyran, the Raven Clan instructor, is the man when it comes to unlocking new combat skills, but he offers other benefits. As you progress through the story, he’ll provide higher levels of the Art of Defense, which increases the number of consecutive blocks and the number of accessory slots, respectively, both invaluable in their own ways.
Wave-Based Challenge Missions
Sooner or later, you’ll discover a gate with blue flames, emanating nothing but trouble. Before venturing inside for its wave-based challenge, you can select how much of your max health to reduce, which increases the amount of weapon EXP and Ninja Coins earned. Just remember that if you give up or back out after entering, it won’t be accessible again in that chapter.
Easy Access
Thankfully, upon completing the story, you get the option to select between each of these missions without having to replay the entire chapter. The catch is that you need to discover them to unlock them in this menu. Even if you fail, at least it’s unlocked for retrying later and tackling higher difficulties with more skills.
Tallying Up
After finishing the story, dive back in via Chapter Select to purchase Tallies. These can unlock additional missions for more Ninja Coins and items like Incense of Rebirth, which can revive you upon death. As a way to earn additional currency while revisiting the campaign as, say, Ryu Hayabusa, they’re a nice extra, especially since their progress isn’t chapter-specific.
Non-Berserk Bloodbath Kills
At the shop during Chapter Select, you can also discover items like the Ashen Pipe, which makes it so that every weapon’s signature attack has a chance to trigger a Bloodbath kill (at the risk of disabling Berserk gauge build-up). Not only is this useful when replaying at higher difficulties, but it also comes in handy for the post-game Trials, where you can customize your loadout, even if it costs a whopping 85,000 Ninja Coins.


This post offers some great insights for players diving into Ninja Gaiden 4. It’s exciting to see the game finally released, and these tips will surely help both newcomers and veterans tackle its challenges. Looking forward to seeing how everyone adapts to the new gameplay!
I’m glad you found the insights helpful! The combat mechanics in Ninja Gaiden 4 really require players to adapt and strategize, especially with the new enemy types. It definitely adds a fresh layer of challenge compared to the previous games!