

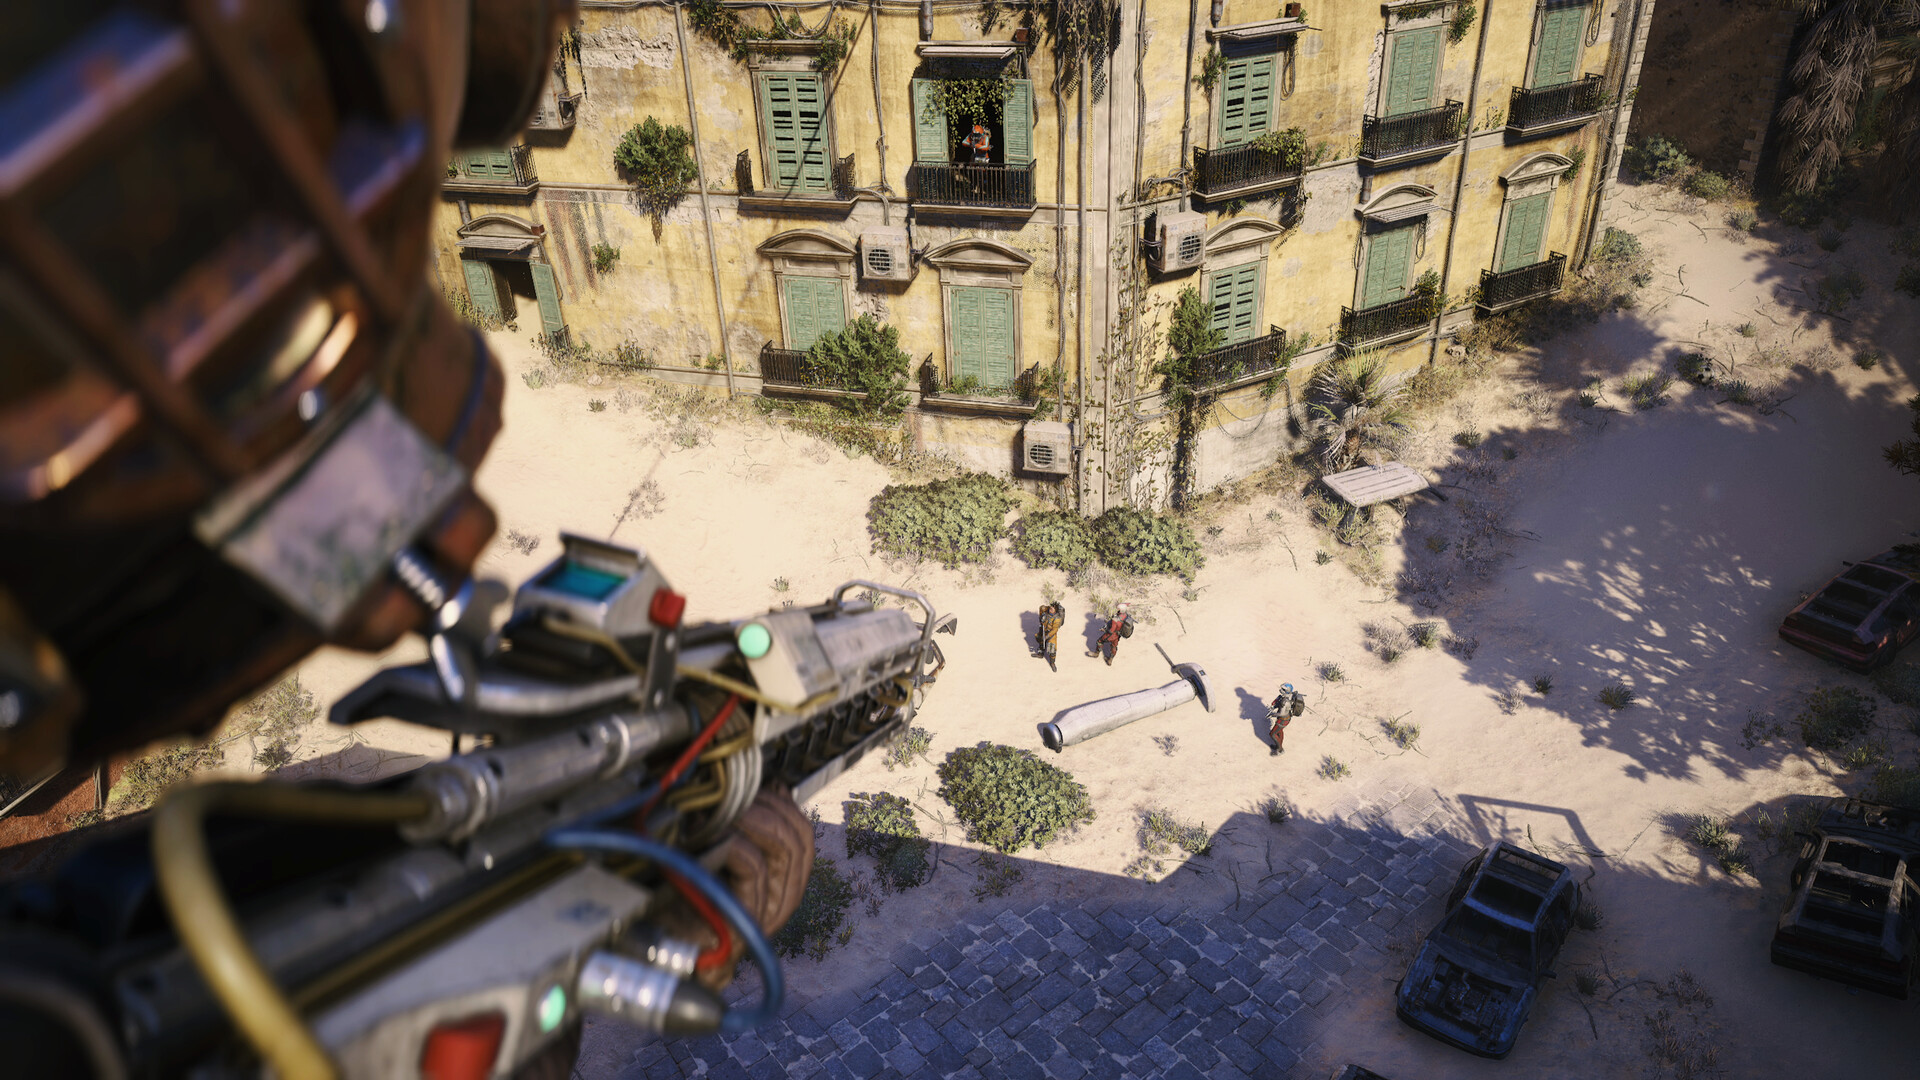
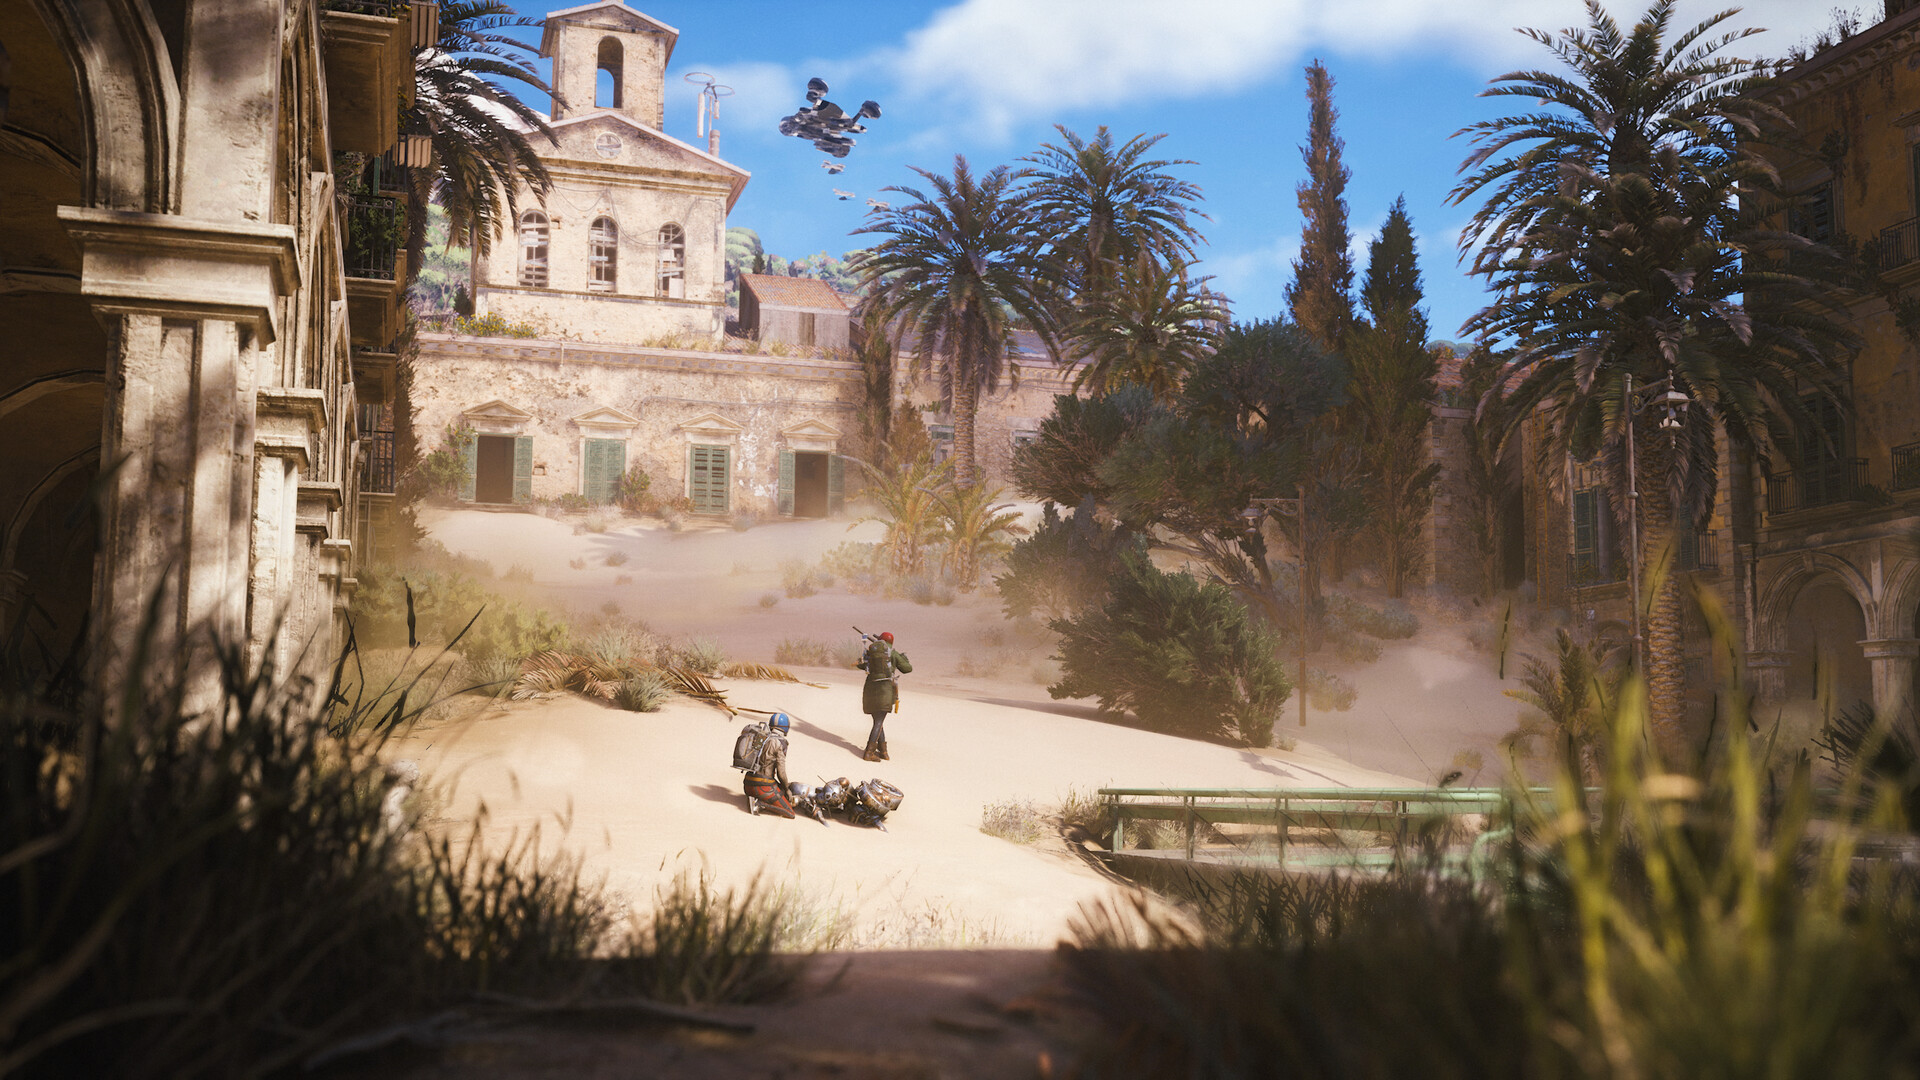
With nearly 265,000 peak concurrent players on Steam before the weekend and glowing praise from its currently 9,600 user reviews, Embark Studios’ ARC Raiders has made quite the impact on release. The Rust Belt offers numerous attractions, from sand-filled city ruins to mountain passes, and plenty of dangers. With how risky and stressful the gameplay can be, here are 15 tips and tricks for ultimately surviving, and perhaps even thriving in your journey of resistance.
Free Loadouts
The Free Loadout option is one of the more ingenious tools that ARC Raiders has to offer. After reaching Speranza, choosing it will provide a most rudimentary inventory – a single gun, some ammo, and healing items – for free. There is no Safety Pocket for retaining valuables if you’re knocked out and the inventory slots are low. However, it’s perfect for risk-free resource runs or getting a better handle on the map without losing any of your more valuable gear.
Item Durability
Another advantage of the Free Loadout is that it helps preserve your most precious loot for more important runs. Yes, shields and weapons have a durability meter which drops ever-so-slightly after completing an expedition, but you can repair them with the right components on hand. Alternatively, keep multiple copies of certain weapons and shields on hand so you’re never without your favorite loadout when it matters the most.
Upgrading Weapons
You may think that ARC Raiders follows the logic of the average looter shooter with its rarity system, from Common and Uncommon to Rare, Epic and eventually Legendary. Inspect the weapons closer, however, and a distinct Roman numeral will be noticeable, representing their individual levels. By upgrading them with Mechanical Components and Gun Parts at the Gunsmith bench, you can increase their overall magazine and durability, making them far more potent in the process. However, beware: Upgrading can become progressively more expensive.
Last Ditch Extraction
There are few worse feelings than being ambushed before extraction, crawling around, alarms blaring, with seemingly no other options. However, surrender isn’t the only option – you can still enter the extraction zone and leave with everything on your person. It’s even possible to trigger the switch that sends you back to Speranza, as long as you’re not completely knocked out when the timer runs out.
Ping While Downed
If you get knocked down and can’t get up again, don’t let it bring you down because this provides an underrated function for surviving allies: Pinging your killers. As long as they’re within line of sight, feel free to constantly mark their locations as revenge – er, to help your team. If you’re in the same situation with a downed enemy, knock them out to prevent them from doing the same.
Salvaging Mid-Expedition
No matter the inventory space, it can never truly feel enough at times, especially when starting and hoarding every single material available. Don’t simply toss things if you’re itching for space: Break them down with the salvage function instead. Head into your inventory and right-click on the item to select salvage, which, depending on the material, can stack with others in your inventory.
Play Smarter
ARC Raiders has many moving parts during an expedition that go beyond simply running around, gathering resources and gunning down other players. Playing stealthily and avoiding the ARC is all well and good, but you can also use them to your advantage with Lure Grenades. If you spot an enemy team, don’t immediately engage. Toss one in, watch the mayhem unfold and pick up the pieces after. Even if they don’t succeed in slaying your fellow man, the ARC can provide enough of a distraction for you to either get far, far away or flank around and clean them up.
Expanding Stash Space
Eventually, you’ll run out of Stash space back in Speranza, but don’t rush to dismantle or toss out items just yet. Click the Expand button and spend coins to increase the overall number of slots instead. The cost can be high initially, so loot valuables (denoted by a diamond icon) and sell them for extra. Of course, hang on to some as well, since they can serve other functions, from improving Scrappy’s resource acquisition capabilities to yielding Exotic Components when dismantled.
Resource Acquisition Details
So you need a bunch of Wires for a quest, but don’t know where to get them. If you have one in your inventory, head over to your inventory and hover over it to learn the resource type (like Technological, Medical, etc). Then check your map for areas with those same resource types. You’re not guaranteed to be swimming in the materials, but they’re where you should be looking, first and foremost.
Tracking Resources
Whether it’s for training Scrappy or levelling up your weapons, press the Track Resources button to pin what you need to look for on an expedition. You can even ping it from the map interface for your team so they can keep an eye out for the same materials (and maybe offer them up, if they’re feeling generous).
Battling the ARC
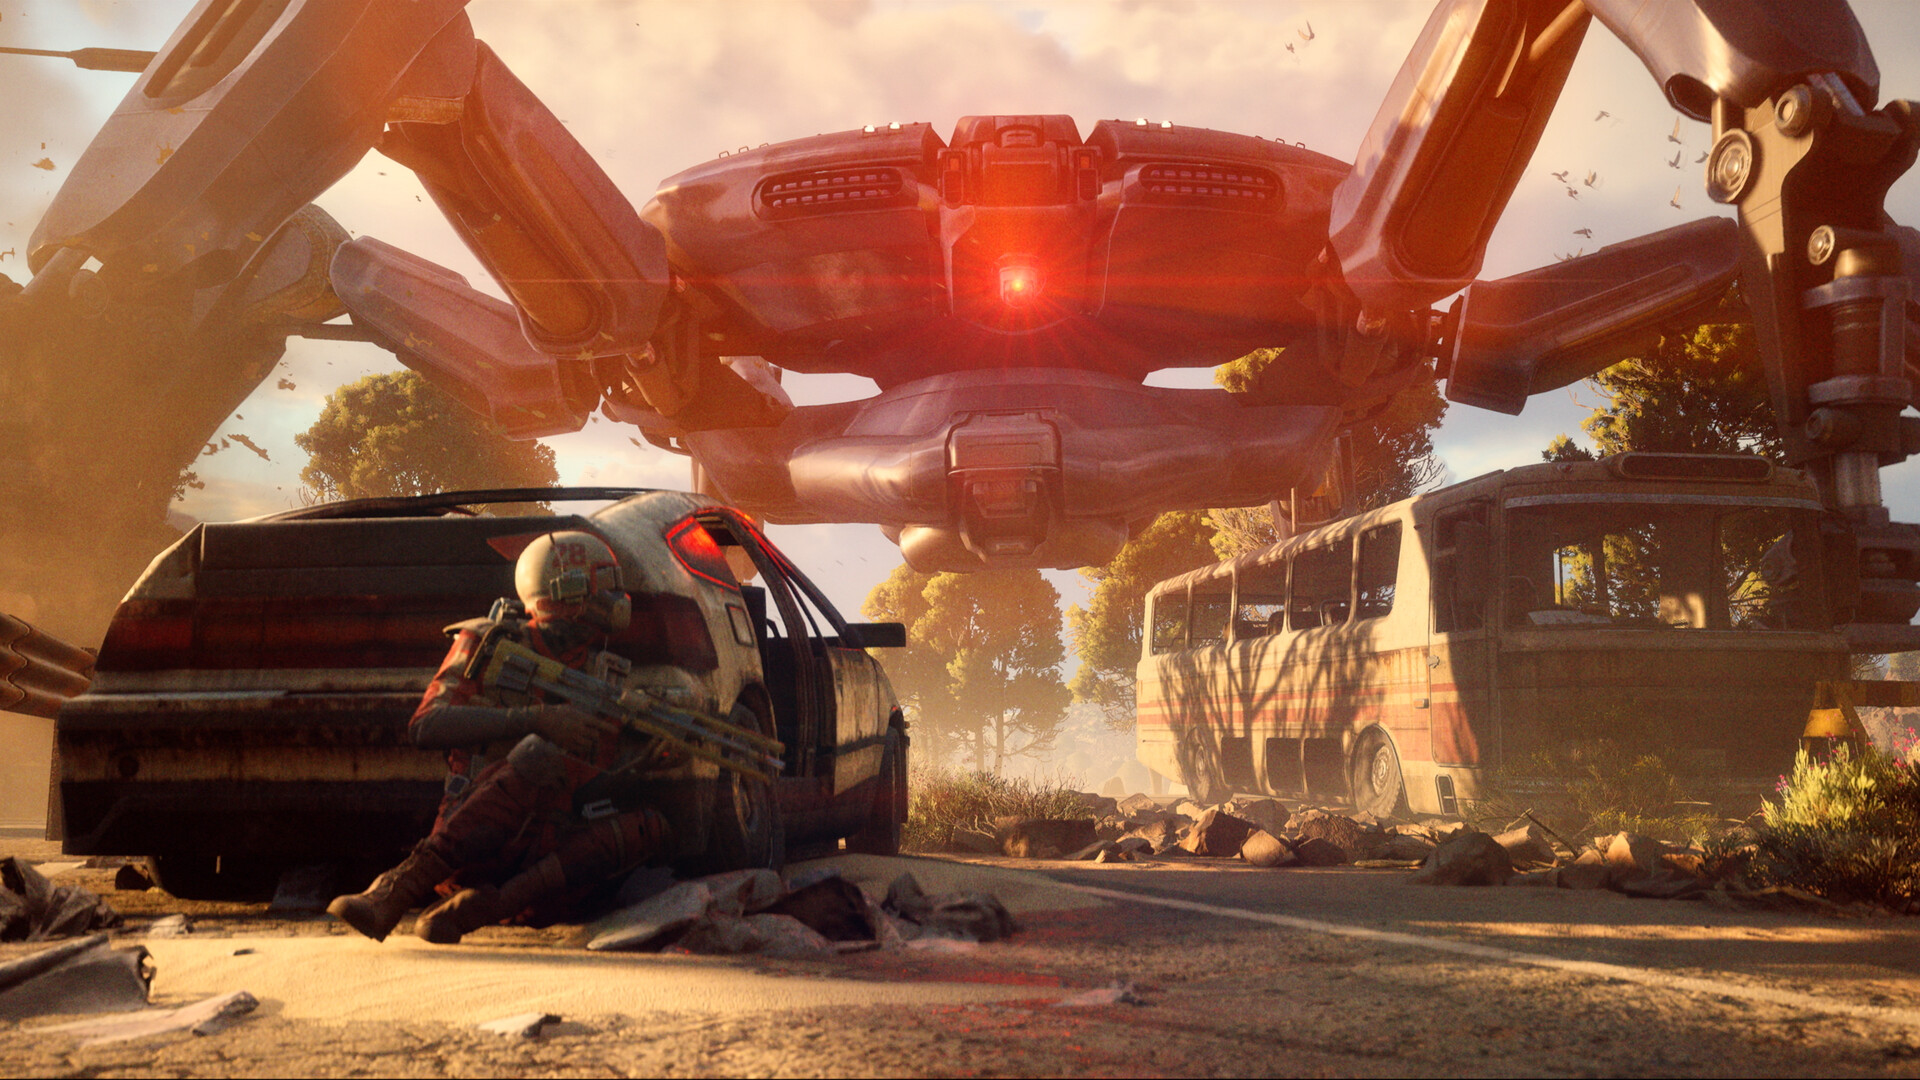
The ARC come in all shapes and sizes, and it helps to know what they’re capable of since you’ll inevitably fight them. For example, Hornets can shock and temporarily incapacitate you, but it’s possible to avoid these entirely by rolling at the right moment or breaking line of sight. When battling against it, take note of its thrusters on the back – destroying both causes it to fall to the ground, which is far better than dumping bullets into its body. When fighting a Leaper, aim for its eye and the joints on its legs, though beware – true to its name, it can leap great distances to deal significant damage on impact.
Mind the Exits
Unless you have a Raider Hatch Key, extracting can be a dangerous toss-up, whether it’s attracting other humans or the ARC. With that in mind, note the closest extraction points and their timers to extract as soon as your task, whatever it may be, is complete. If you’re looking to hunt other players, sticking around for longer in an expedition is the best option since there will be fewer options for them to escape.
Melee Combat
If you’re running low on ammo or just dealing with low-level ARC such as Ticks, break out the melee weapon (which is also used for breaching doors). It’s strong enough to take them out quickly, and can even be used on slightly higher-ranking ARC with the right Skills. Sky-Clearing Swing will damage drones more, and Flyswatter allows for destroying Wasps and Turrets with one melee attack (though it has a lot of prerequisites for unlocking, including 36 points in Conditioning).
Mitigating Fall Damage
When dropping from a high area, hold down the jump button to grab onto a ledge or ladder on the way down to prevent a messy death (just remember: This isn’t an option from much greater heights). This technique is essential for seamlessly navigating environments, but you should also aim to roll just before landing on the ground to execute a Recovery Roll and avoid taking any damage.
Seeding Items
While seeds may feel useless compared to everything, hang on to a few when travelling back to Speranza and visit Celeste. She’ll trade them for materials that can be used to craft ammo and weapons, and other notable items. If you’re not finding any seeds during an expedition, salvaging plants is a good way to net some.

This guide sounds really helpful for both new and experienced players! It’s great to see such a positive response to ARC Raiders, especially with so many players getting involved. Looking forward to trying out some of these tips!
I’m glad you found the guide helpful! With so many players jumping in, it’s interesting to see how community strategies evolve, especially in a game like ARC Raiders where teamwork can make a huge difference.